Microsoft Surface Deployment Accelerator (SDA) provides a quick and simple deployment mechanism for organizations to reimage Surface devices.
SDA includes a wizard that automates the creation and configuration of a Microsoft recommended deployment experience by using free Microsoft deployment tools. The resulting deployment solution is complete with everything you need to immediately begin the deployment of Windows to a Surface device. You can also use SDA to create and capture a Windows reference image and then deploy it with the latest Windows updates.
SDA is built on the powerful suite of deployment tools available from Microsoft including the Windows Assessment and Deployment Kit (ADK), the Microsoft Deployment Toolkit (MDT), and Windows Deployment Services (WDS). The resulting deployment share encompasses the recommended best practices for managing drivers during deployment and automating image creation and can serve as a starting point upon which you build your own customized deployment solution.
Microsoft Surface Deployment Accelerator prerequisites
Before you install SDA, your environment must meet the following prerequisites:
- SDA must be installed on Windows Server 2012 R2 or later
- PowerShell Script Execution Policy must be set to Unrestricted
- DHCP and DNS must be enabled on the network where the Windows Server 2012 R2 environment is connected
- To download Surface drivers and apps automatically the Windows Server 2012 R2 environment must have Internet access and Internet Explorer Enhanced Security Configuration must be disabled
- To support network boot, the Windows Server 2012 R2 environment must have Windows Deployment Services installed and configured to respond to PXE requests
- Access to Windows source files or installation media is required when you prepare a deployment with SDA
- At least 6 GB of free space for each version of Windows you intend to deploy
The Setup
Launching the SDA software on the server
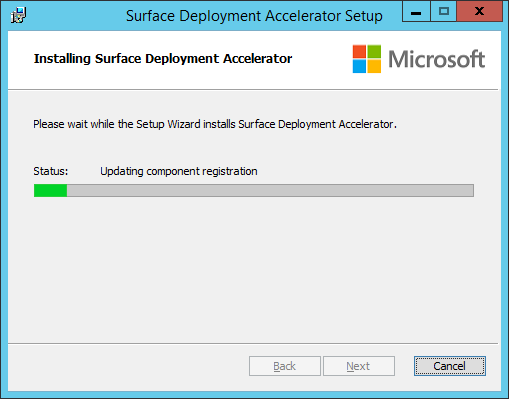
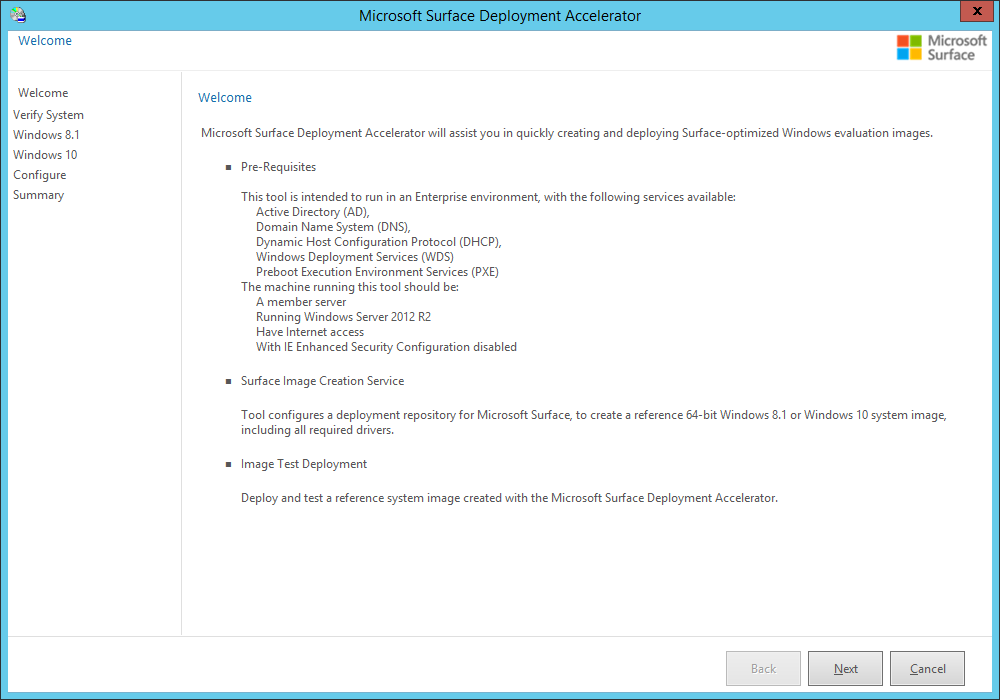
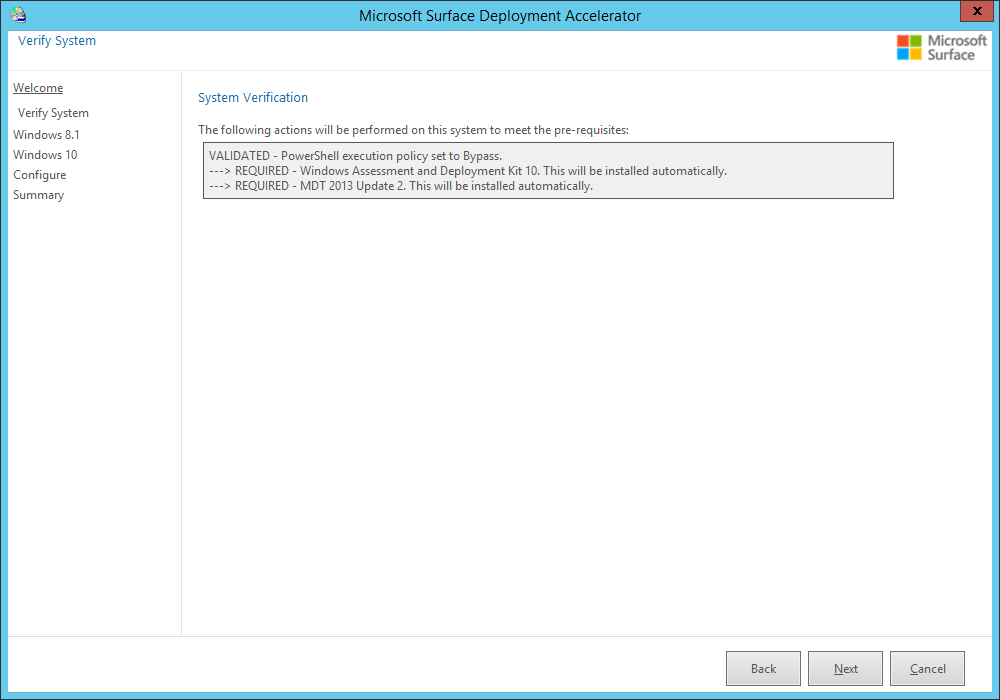
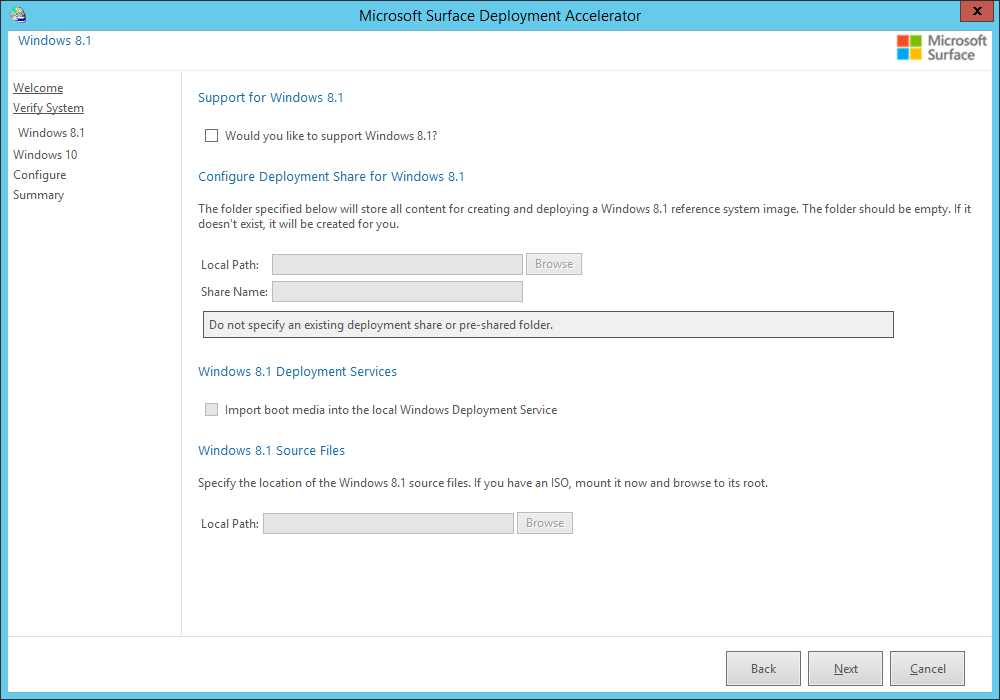
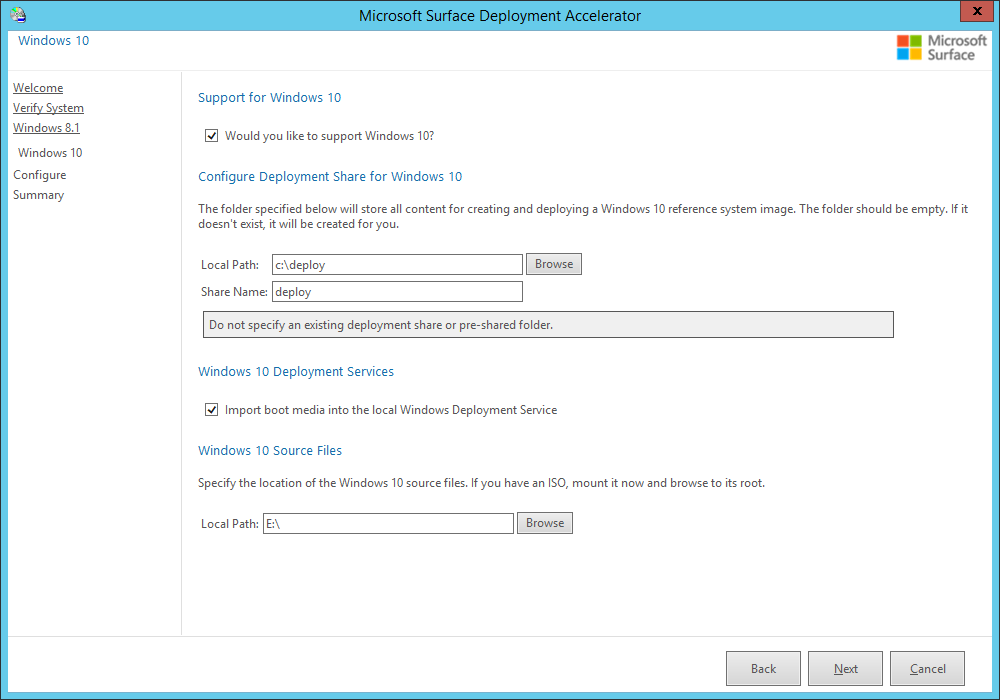
I select Windows 10 and enter the share info
I select the Surface Pro 4, the only model I need at the time

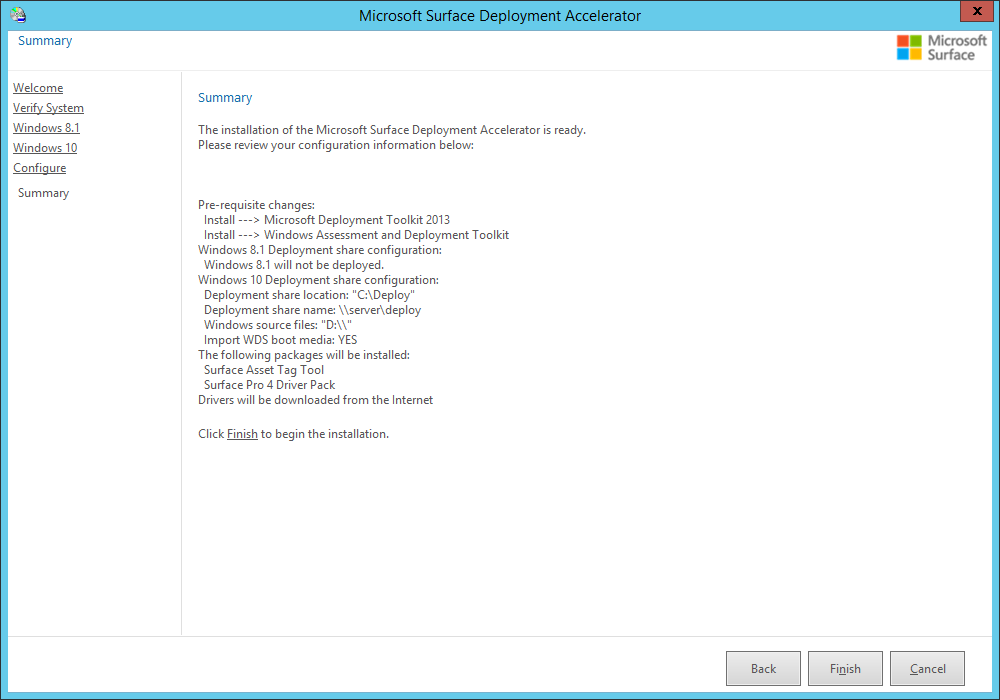
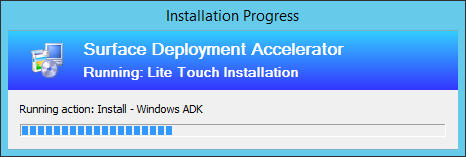
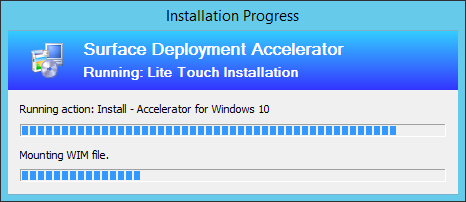
At this point, SDA has completed setup on the server. I did make a few minor changes to the Bootstrap.ini (adding credentials) and the CustomSettings.ini (a few items I wanted automated). More info about those files here.
I now start my client machine.
I select PXE boot.
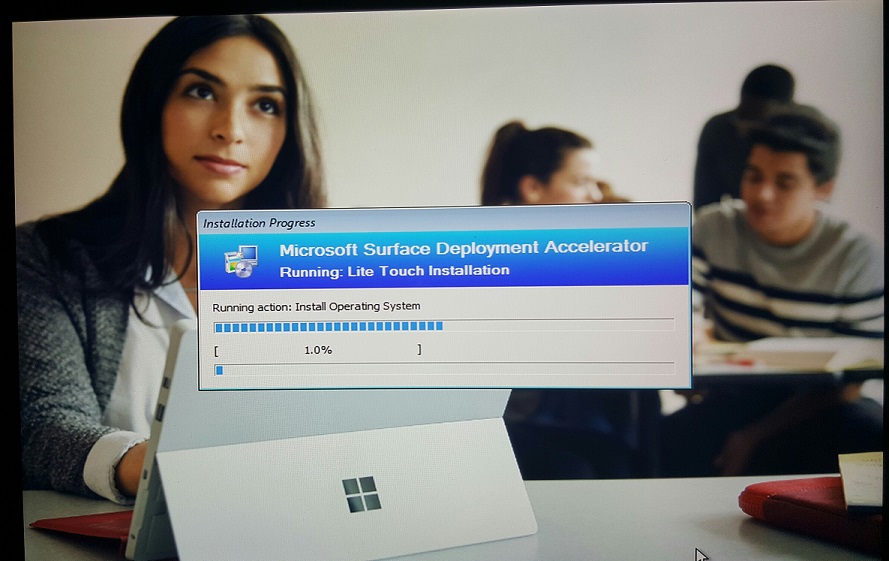
I boot into deployment mode. The image, drivers, and settings are applied from the server.
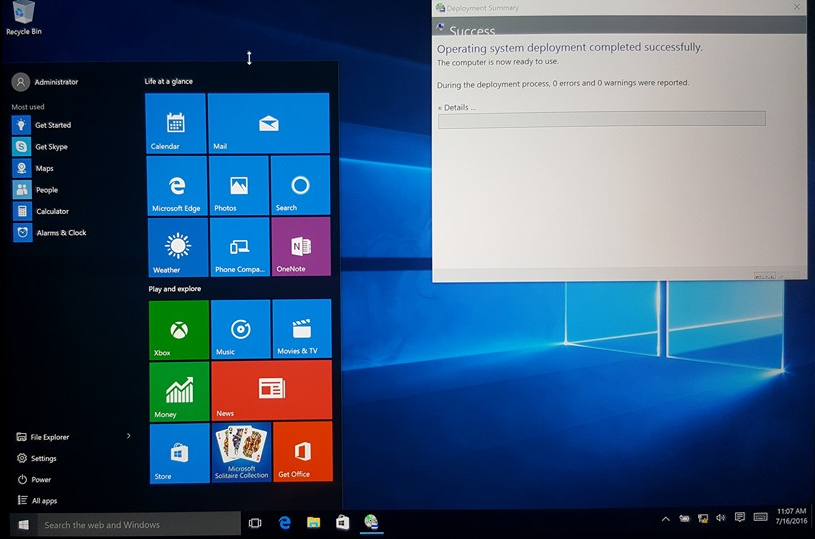
Completed imaging with no errors
more to come…
References
https://4sysops.com/archives/capture-an-image-in-mdt-customsettings-ini-and-bootstrap-ini/
Notes
CustomSettings.ini
[Settings]
Priority=Default
Properties=MyCustomProperty
[Default]
OSInstall=Y
SkipBDDWelcome=YES
SkipCapture=NO
SkipTaskSequence=YES
TaskSequenceID=WIN_01
SkipAdminPassword=YES
SkipDomainMembership=YES
JoinDomain=contos.local
MachineObjectOU=OU=Workstations,DC=contos,DC=local
DomainAdmin=administrator
DomainAdminPassword=xyz123
DomainAdminDomain=CONTOS.LOCAL
_SMSTSORGNAME=Constos Inc.
UILanguage=en-US
UserLocal=en-US
KeyboardLocal=en-us;0409:00000409
SkipTimeZone=YES
TimeZoneName=Romance Standard Time
SkipLocaleSelection=YES
USMTOfflineMigration=FALSE
UserDataLocation=NONE
SkipComputerName=NO
OSDComputerName=Workstation1
SkipCapture=YES
SkipProductKey=YES
SkipApplications=YES
SkipPackageDisplay=YES
SkipAppsOnUpgrade=YES
SkipComputerBackup=YES
SkipUserData=YES
SkipBitLocker=YES
SkipFinalSummary=YES
SkipSummary=YES
FinishAction=REBOOT
SLShare = \\mdt\deploymentshare$\logs
SLShareDynamicLogging = \\mdt\deploymentshare$\logs\%OSDComputerName%
if you are using SkipBDDWelcome then add this to Bootstrap.ini
SkipBDDWelcome=YES
DomainAdmin=administrator
DomainAdminPassword=xyz123
DomainAdminDomain=CONTOS.LOCAL
If you changed or added anything to Bootstrap.ini
Do not forget to regenerate the boot images and replace them in WDS as well.