![]()

* see QuickBooks Silent Install – Enterprise Deployment
This post is about QuickBooks 2012 (or newer) and how to set up the MSI for silent unattended installation.
The QuickBooks Content
We will be using the QuickBooks installation media. The content will look like this, but we will be accessing the QBooks folder specifically.

Locate the QuickBooks.msi
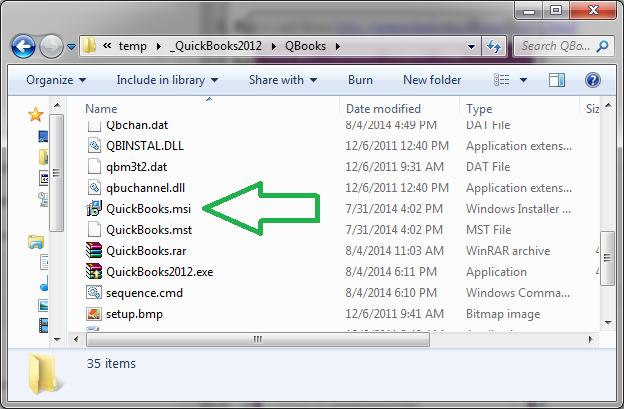
which is what Setup.exe uses during the install. This is what you see if you double-click the MSI by itself.
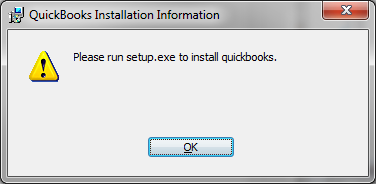
As you can see, when we run the MSI directly we get this message, denying us the ability to use the MSI as the default installer. However, once we edit the MSI (creating a transform file), this message will go away. Why do we want to edit the MSI? Not only will the setup message go away, but we can also add configuration items that will embed the serial number and control the end user license agreement.
Using Orca, we can directly edit the MSI…or in our case, create a transform file.
Build the Transform File
01/11. Install Orca – Download Link
02/11. Extract you QuickBooks install to an accessible location
03/11. Launch Orca
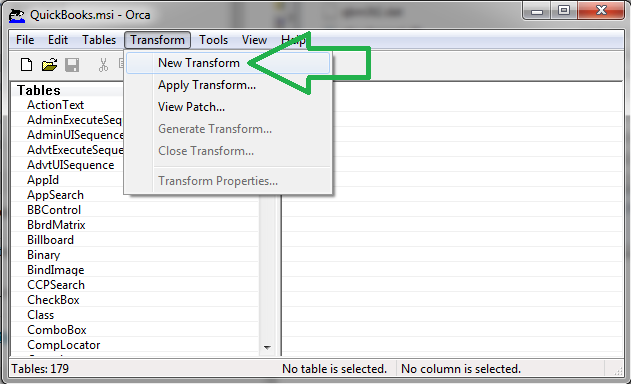
04/11. In Orca select open and navigate to the QuickBooks.msi file located in the QBooks folder
05/11. Select New Transform from the drop down menu
06/11. Drop the LaunchCondition
The first change we will make is under the table LaunchCondition, which controls our ability to launch the MSI by itself

1. Select the table LaunchCondition
2. Highlight the Condition that starts out as (PARENTAPP=”INSTALLMANAGER”)
3. Right click on it
4. Select Drop Row
07/11. Unchecked the Google Desktop Search
The second change is under the table Property, which controls the installation of the add-on Google Desktop Search.
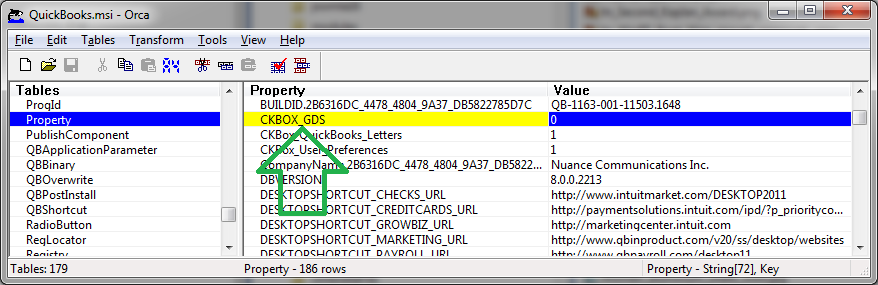
1. Select the table Property
2. Highlight the Property that says CKBOX_GDS
3. Double click on its Value (Be default it is 0)
4. Change the Value to 2
08/11. Select Agree to License Agreement
The third change is under the table Property, which is the radio button for the I Agree to the License agreements.
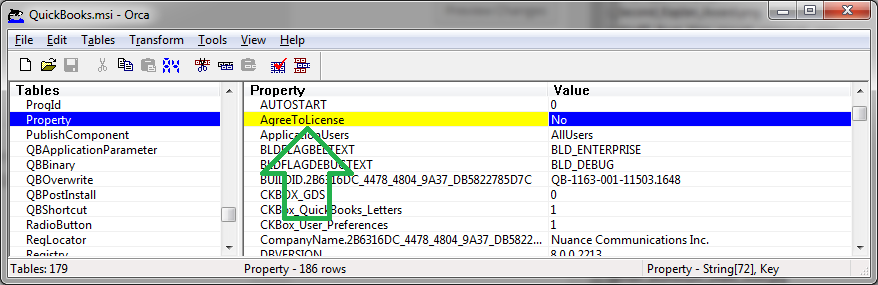
1. Select the table Property
2. Highlight the Property that says AgreeToLicense
3. Double click on its Value (By default it is No)
4. Change the Value to Yes
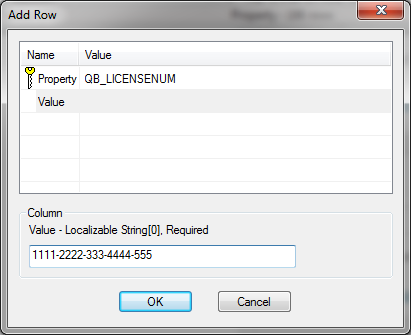
09/11. Enter License Key
The fourth change is to enter the license key for your QuickBooks installation.
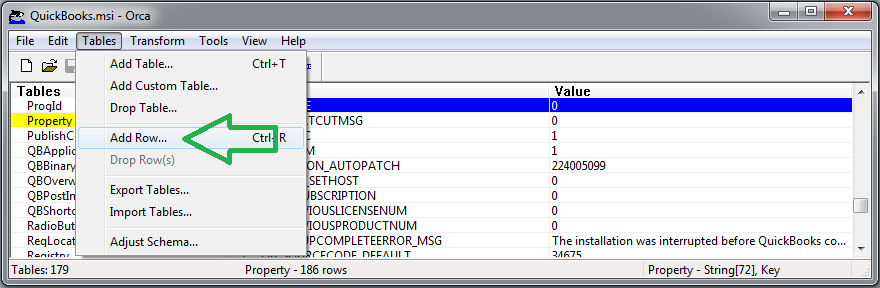
1. Select the table Property
2. Right Click in the table
3. Select Add Row
4. In the Property string enter QB_LICENSENUM
5. In the Value string enter your License Key (with dashes)
10/11. Enter Product Key
The fifth change is under the table Property, which is the product key for your QuickBooks installation.

1. Select the table Property
2. Right click in the table
3. Select Add Row
4. In the Property string enter QB_PRODUCTNUM
5. In the Value string enter your Product Key
You have to have the dash ‘-‘ in this field in order for the program to read your product correctly.
11/11. Generate Transform
Now, generate the transform and test it with the QuickBooks.msi file.
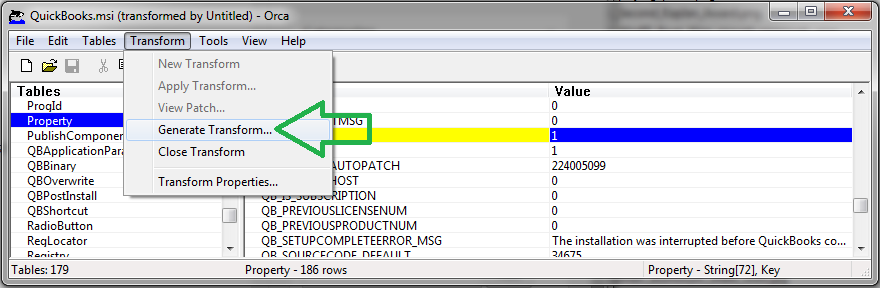
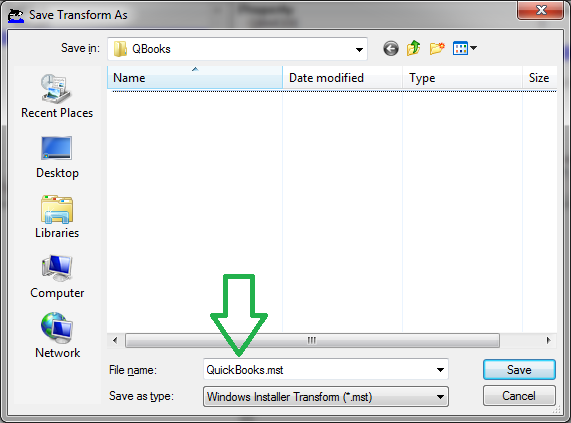
1. Click on the Transform tab at the top of the screen
2. Click on Generate Transform…
3. Save your Transform with a meaningful name. I used Quickbooks.mst.
All done – Now you’re ready for testing
1. Open an Administrative Command Prompt (or create a simple batch file—run as admin).
2. Enter: MSIEXEC /I “PathToFile\QuickBooks.msi” TRANSFORMS=”PathToFile\QuickBooks.mst” /qb
3. Execute the command