
Have you ever seen a cylon light or Kitt (from Knight Rider)…with the red light scanner? This project sets out to create my own scanner light inside a black tin box.
The Components
1 x Arduino UNO
1 x Breadboard
8 x red LEDs
8 x 220 ohm resistors
Male to male jumper wires
The Arduino and Schematic
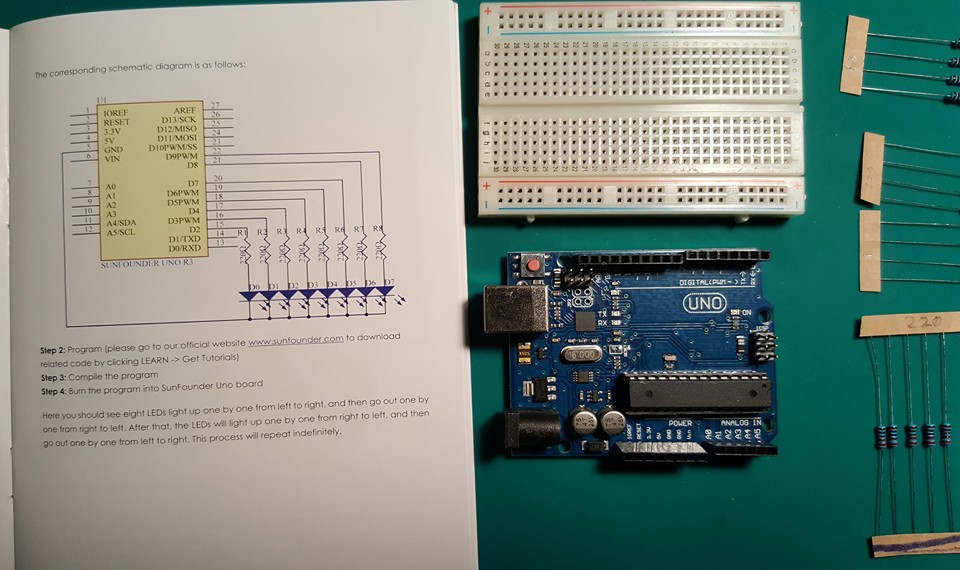
In testing, I wired everything up. It’s always a good idea to use your breadboard first, just to make sure everything is working.
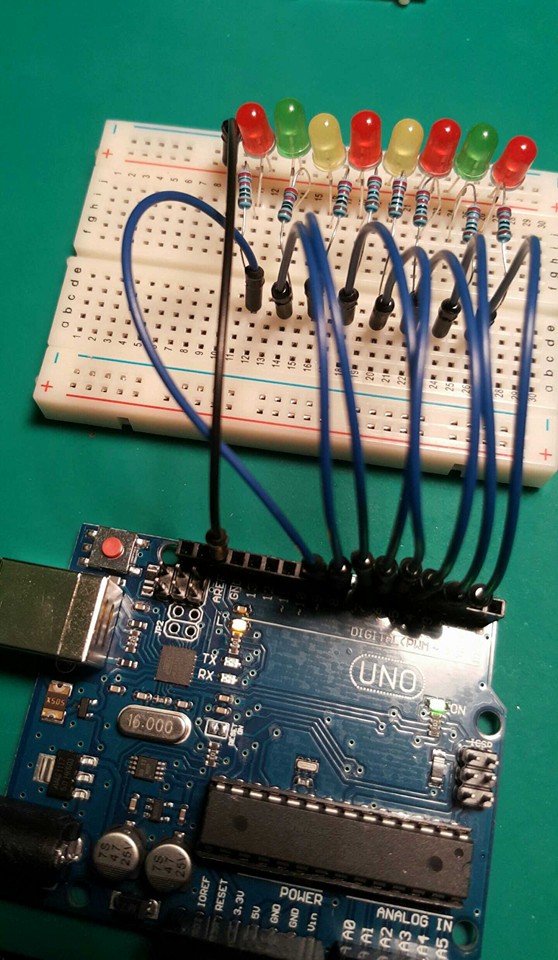
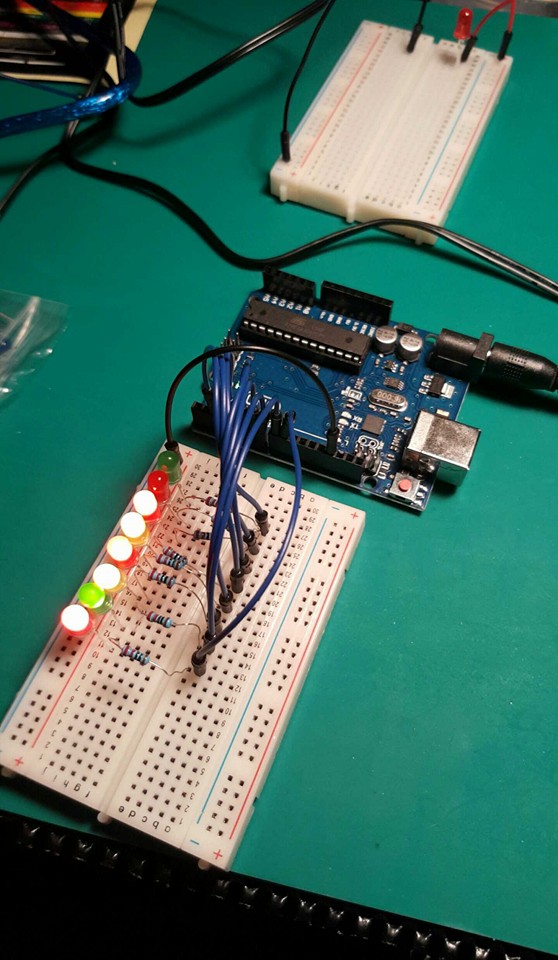
The final part of testing was to add power…and the circuit on the Arduino works as intended.
Code I wrote for the Arduino:
int ledPins[] = {
	2,3,4,5,6,7,8,9 }; // make an array of the pin numbers
	int pinCount = 8;  // variable for number of LEDs
	int timer = 10;    // delay in between LED on and off

void setup() {
	for (int thisPin = 0; thisPin < pinCount; thisPin++) { //for loop to setup all of the pins in the array ledPins
	pinMode(ledPins[thisPin], OUTPUT);
	}

}

void loop() {
	for(int thisPin = 0; thisPin < pinCount; thisPin++) { //for loop to go through all LEDs in array and turn them on timer = analogRead(A0) / 2; //and off until end of line in one direction digitalWrite(ledPins[thisPin], HIGH); digitalWrite(ledPins[thisPin] +1, HIGH); digitalWrite(ledPins[thisPin] + 2, HIGH); delay(timer); timer = analogRead(A0) / 2; // Read the potentiometer value and divide by two to get delay digitalWrite(ledPins[thisPin], LOW); digitalWrite(ledPins[thisPin] + 1, LOW); digitalWrite(ledPins[thisPin] + 2, LOW); timer = analogRead(A0) / 2; } for (int thisPin = pinCount - 1; thisPin >= 0; thisPin--) { //for loop to go through all LEDs again in opposite direction
		timer = analogRead(A0) / 2;
		digitalWrite(ledPins[thisPin], HIGH);
		digitalWrite(ledPins[thisPin] - 1, HIGH);
		digitalWrite(ledPins[thisPin] - 2, HIGH);
		delay(timer);
		timer = analogRead(A0) / 2;
		digitalWrite(ledPins[thisPin], LOW);
		digitalWrite(ledPins[thisPin] - 1 , LOW);
		digitalWrite(ledPins[thisPin] - 2, LOW);
		timer = analogRead(A0) / 2;
	}
}
Now, the components just have to be enclosed in a container.
Notes